
I am the furthest thing from a wool expert, but I bought it based on the fact that it didn't smell, and someone put chestnuts in the bag. I heard once that chestnuts keep away moths and I figured that whoever owned this probably knew more about wool than me, and therefore it must be worth buying. Certainly worthy of experimenting with.
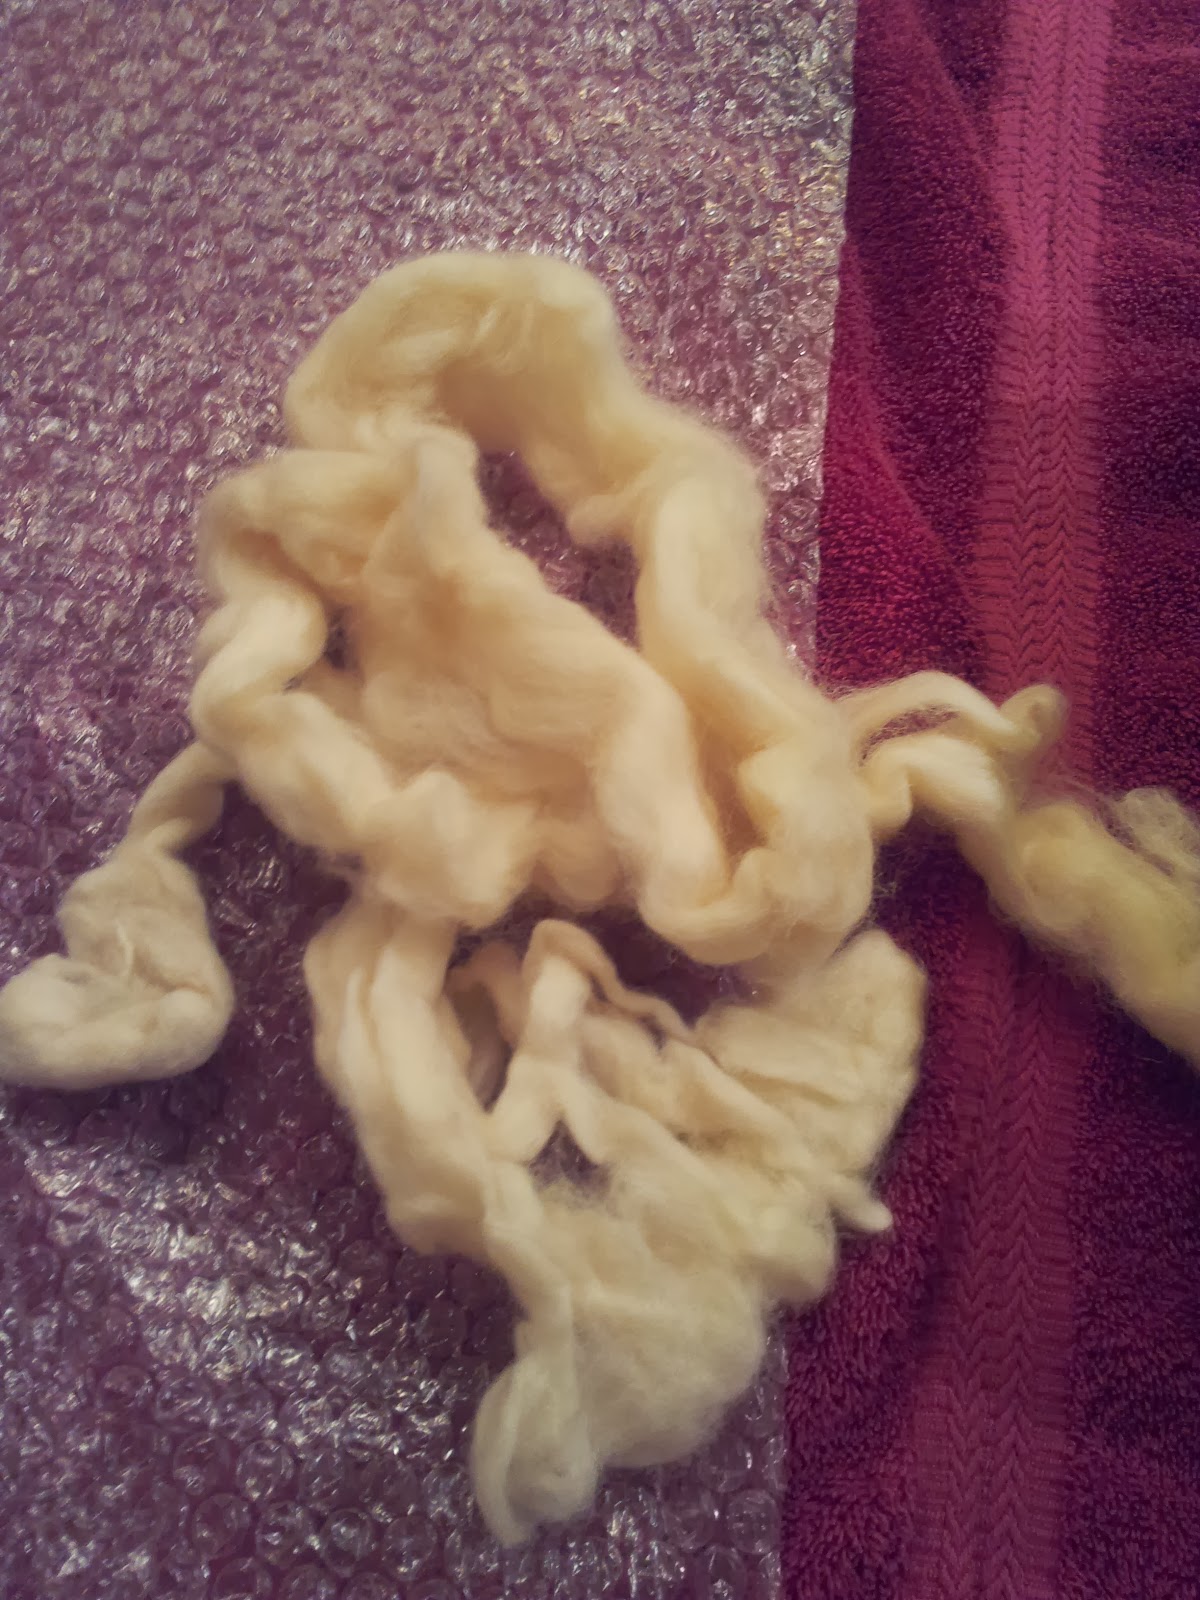


It isn't all lovely smoothly combed out roving is it? I read a blog recently where a gal made a pair of wet felted slippers using raw wool and it looked like they worked quite well, so fingers crossed for this project.
First I weighed another felt hat that I have and it was around 85g. I want this one to be a bit smaller and the math to be a bit easier.
I weighed out 80g and then split that into 8 different piles of 10g each so I could make 4 layers of roving on each side of the resist.
I lay out my resist on top of a towel and a big sqaure of bubble wrap and started laying out my first layer:
The second layer looked a lot like dreadlocks and I was thinking that this might be a very Rasta sort of hat..(Make sure that each layer had the fibres going in a different direction than the one underneath).

Once I had my 4 layers set out, I covered the whole thing with a sheet of tulle and wet it down with hot soapy water. At this point you don't want a lot of suds, just a slippery surface.
This is a the handle of a drywall sander. Instead of sandpaper, I put in a piece of bubble wrap and rubbed the surface of the tulle. You can also just scrunch up a piece of bubble wrap and use that for friction, but this way my hands stayed a bit dryer. Periodically peel up the tulle to make sure that the wool fibres aren't felting through too much.
You can see in the photo above that the wool around the perimeter of the resist is left dry. This is the part that will wrap around to the other side, so you don't want to felt it yet. Rub the wet surface for about 5 minutes or so. How long it takes can depend on the type of wool you are using. Merino top and Corriedale are quite good for wet felting. With this mystery wool though, I wasn't sure what to expect. When you think you might be getting close, you can do a pinch test: peel back the tulle and gently pinch the wet wool up. If it is still wispy, keep rubbing. If the layers are coming up together, you can flip it over and start on the other side..
I carefully folded over the overlapped edges and wet them down, before laying down the 4 layers on this side. I also made each layer hang over the edge of the resist to fold back onto the first side.
Once both sides were rubbed with bubble wrap and there was a good 'skin' on the wool (you've done some pinch tests), I covered the wool with hot sudsy water and put another layer of bubble wrap over top (bubbles facing in).
I rolled up into a tube and then rolled it back and forth about 25 times, then unrolled it and rotated the hat clockwise 45 degrees, rolled it up and repeated. I did this 4 times, then flipped it over and repeated.
I carefully cut the wool along the bottom of the hat and pulled out the resist. Then I sandwiched the hat between soapy hands and rubbed the the folded edge all the way around to make sure that it was felting as well as the flat parts. I the flipped the hat inside out and repeated the same rolling pattern as on the outside of the hat, sometimes getting the seams off center so it all felted evenly. I did want it to end up round after all.
When I thought I might be working it down to the size I wanted, I wrung out the water and tried it on. I thought it was almost there, so I rinsed it in hot water, then cold, then soaked it for a couple of minutes in some cold water with a glug of vinegar in it to restore the proper pH. ( I was getting a bit tired and forgot to take pictures. It's not complicated though, and at this point your wool is pretty durable, so just rinse it out as you would a t-shirt). I rinsed out the vinegar water, wrung it out, and formed it over this very cool hat block that I just bought from here.
Now I have to wait for it to dry, and figure out how to embellish it a bit.

Hi Elizabeth, thank you for your tutorial. I really liked the shape of your hat. It turned out very nicely! Did you ever get a chance to embellish it? I was wondering if you could tell me which shape of the hatshapers you used, since many are similar. Thanks!
ReplyDeleteHey thanks! I just posted a new photo above... I used a Hatshapers "Dome" in Medium Plus. I would buy a larger one next time because this one I find a bit tight. My head is only 21.25" around too. That's why I unrolled it - with the cuff, it was just a bit too snug around the forehead. I dyed it with koolaid and clamped it to make ridges. Really , I was just playing around. You are motivating me to actually post something on my blog! I am, at this moment, in the middle of a felting frenzy on my kitchen island.(A big, swampy mess) I am making the most gorgeous nuno infinity scarves out of merino and tussah! I will start taking photos and do up a post! Thanks for your comment :)
ReplyDeleteYou're welcome, I will watch for your next post. Your hat redux looks great! I like the red color. Thanks for the hatshaper info, I have been wanting to order from them but so many choices! I'm hoping to get back into felting, its been almost a year since I made anything; we moved into a tiny place and all my wool is in storage 3 hours away :(
ReplyDelete